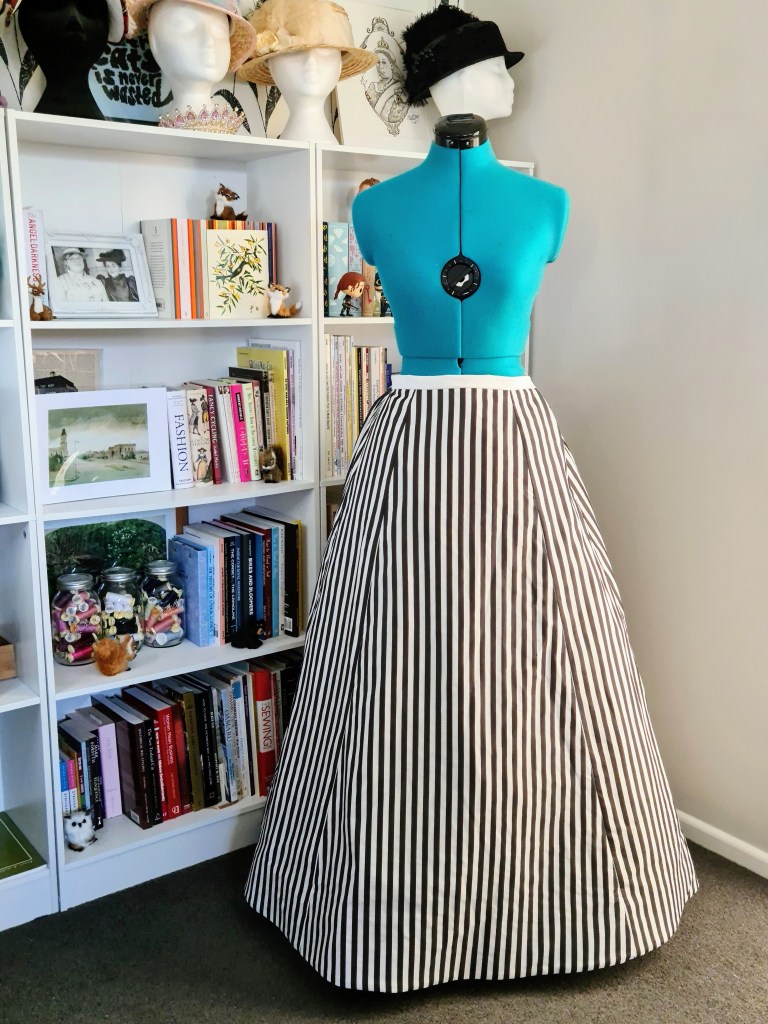
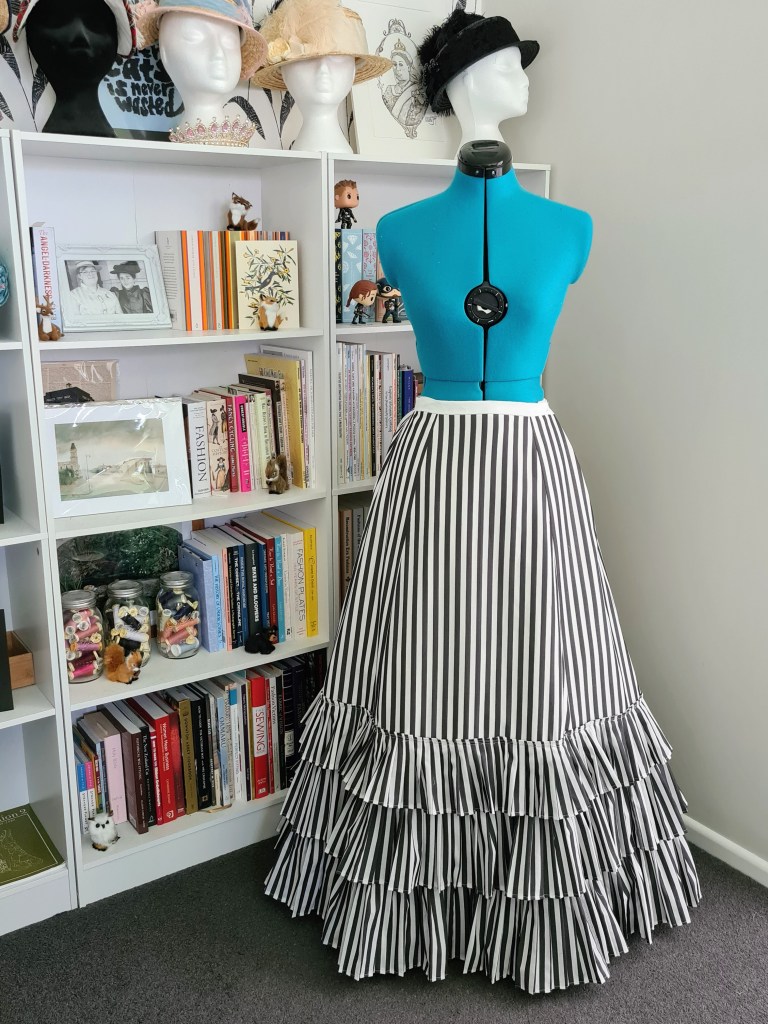
The first part of my Striped Tissot Dress that I made up was the underskirt. This turned out to be a bit more complicated than I expected due to my stubborn perfectionism, and liberal use of the seam ripper as I undid and redid some parts.
I used the Truly Victorian 1870s Underskirt pattern (TV201) as a base. Each pattern piece was cut out individually so I could align the stripes. These pieces were flatlined with cotton broadcloth – except for the back pieces. Those were flatlined with cotton shirting to remove some of the weight at the back of the skirt.
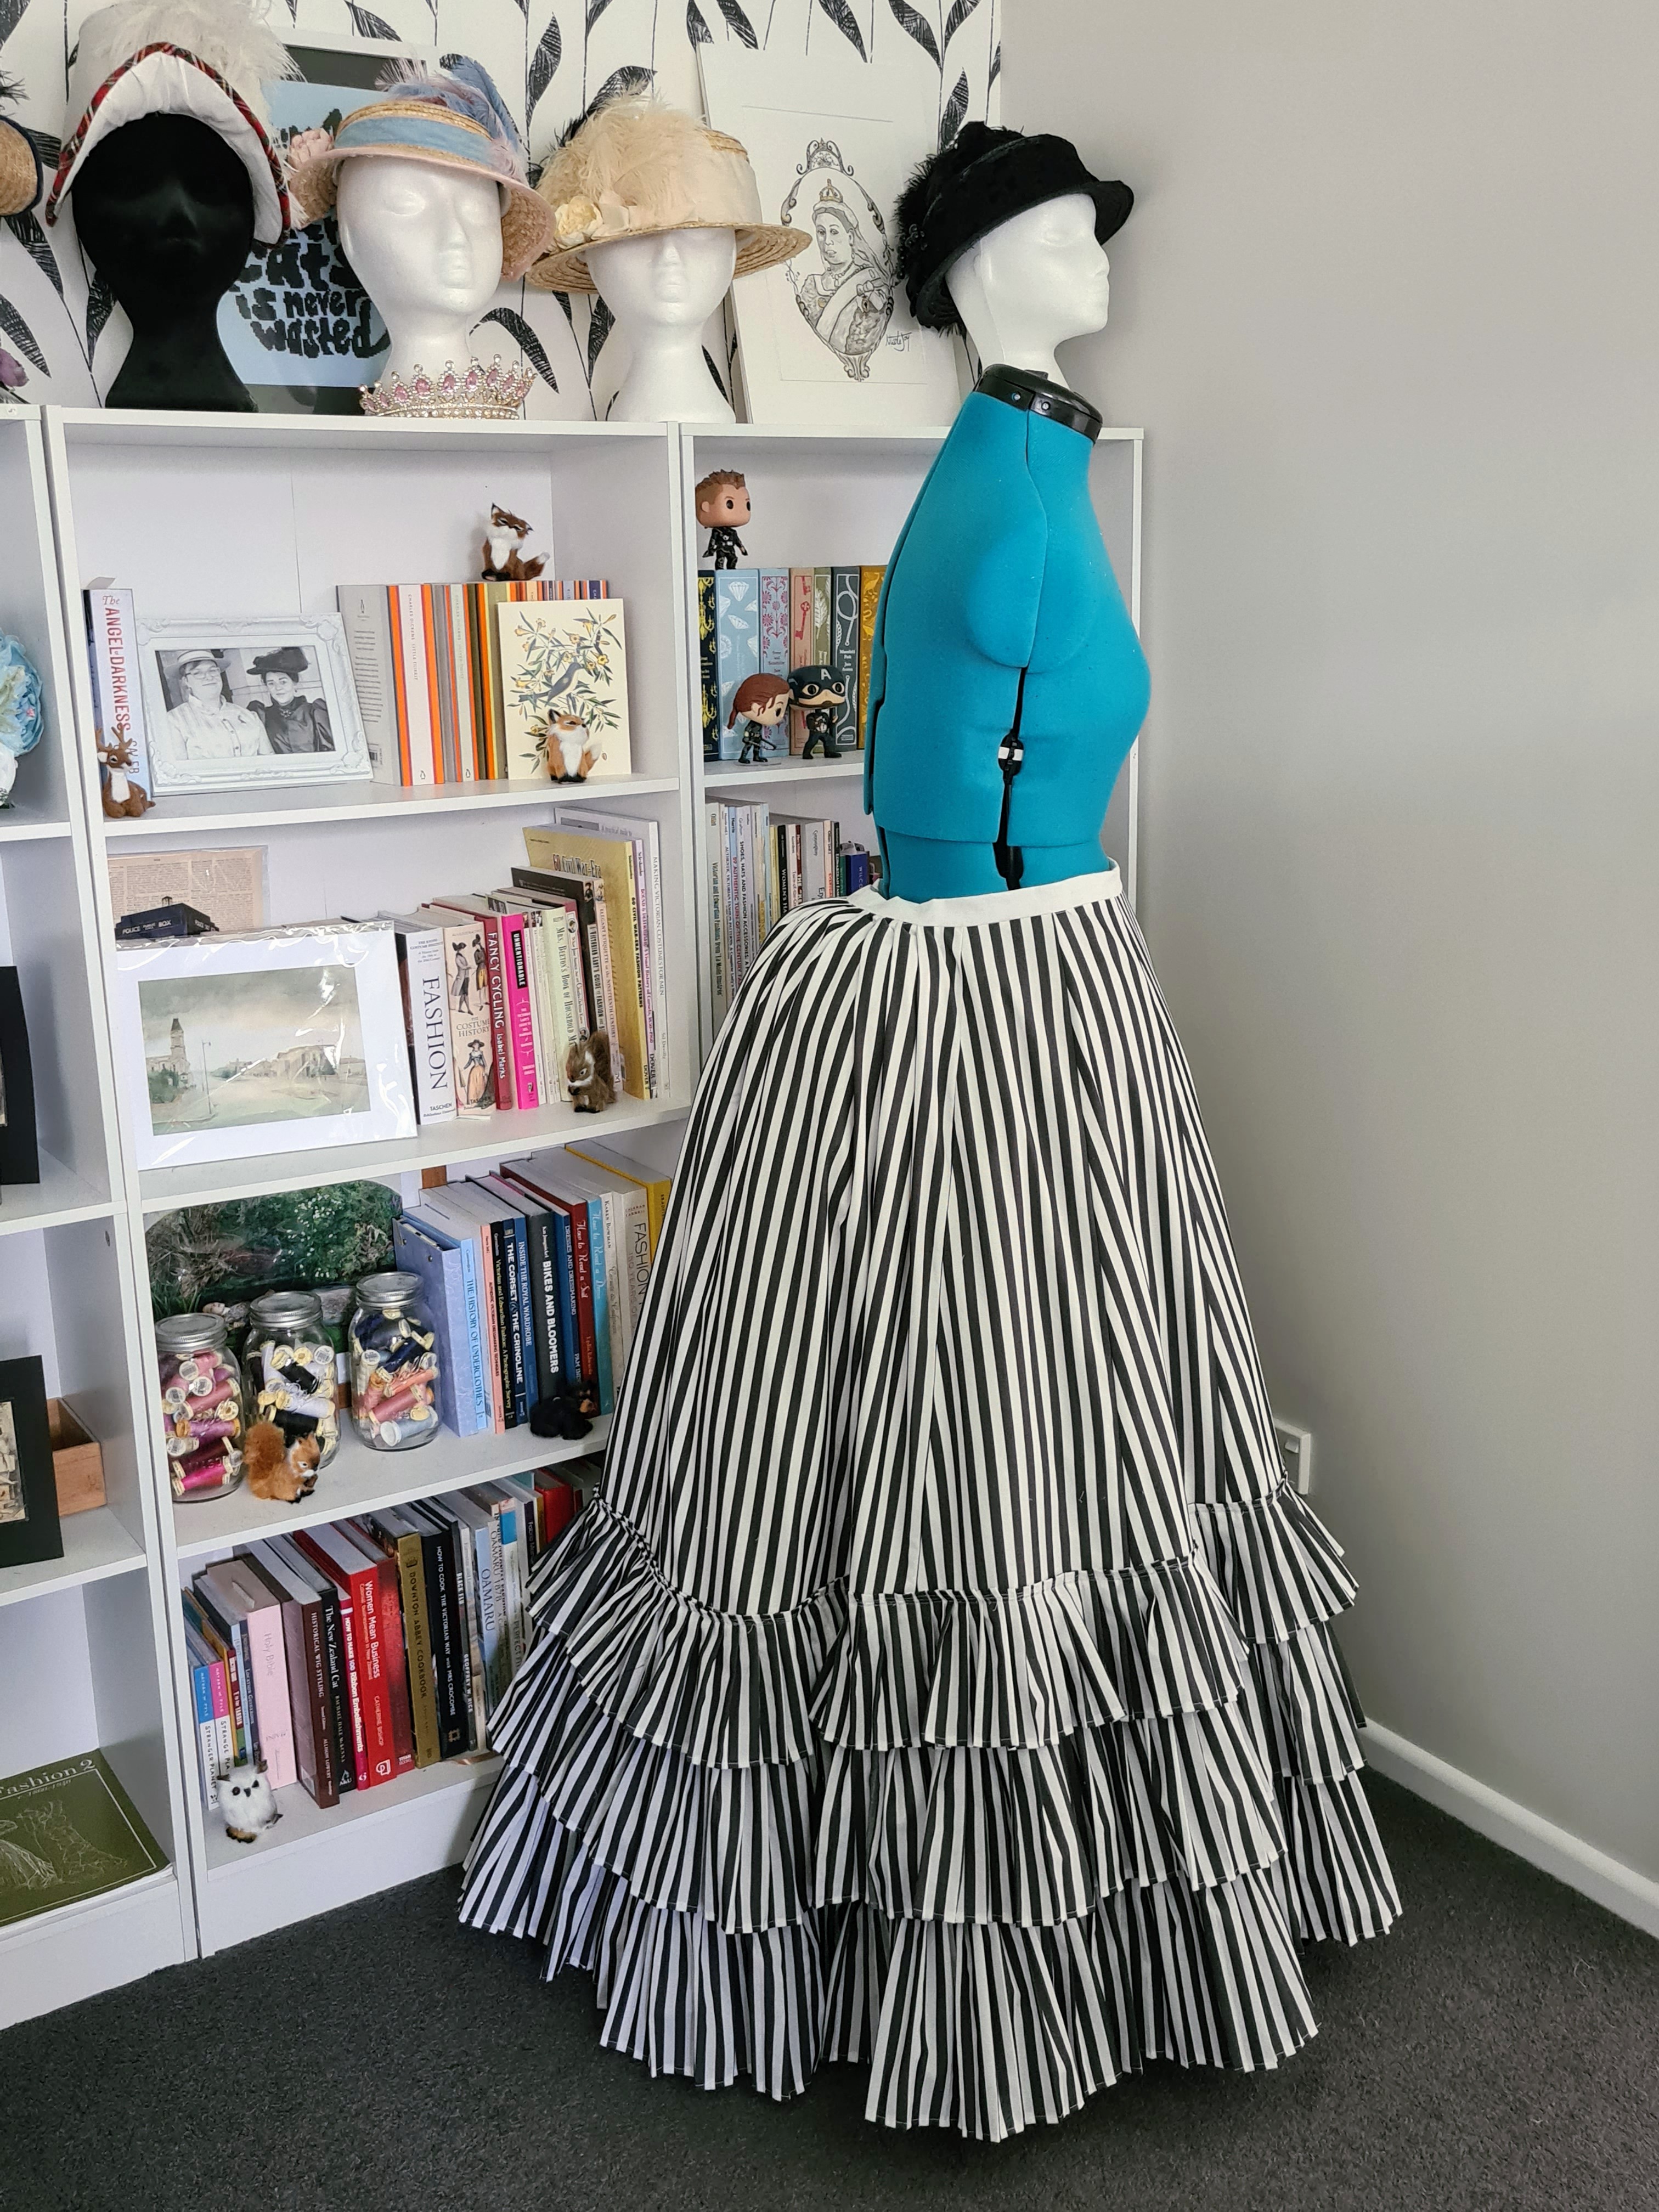
Once these were all sewn together I attached a 6 inch high hem facing, and a 4 inch wide crinoline tape, to kick the hem out from the petticoats, and to give a little extra support for the trims. I hand-sewed the top of the facing to the skirt through the flatlining fabric only to prevent any stitches being visible on the outer side of the skirt.

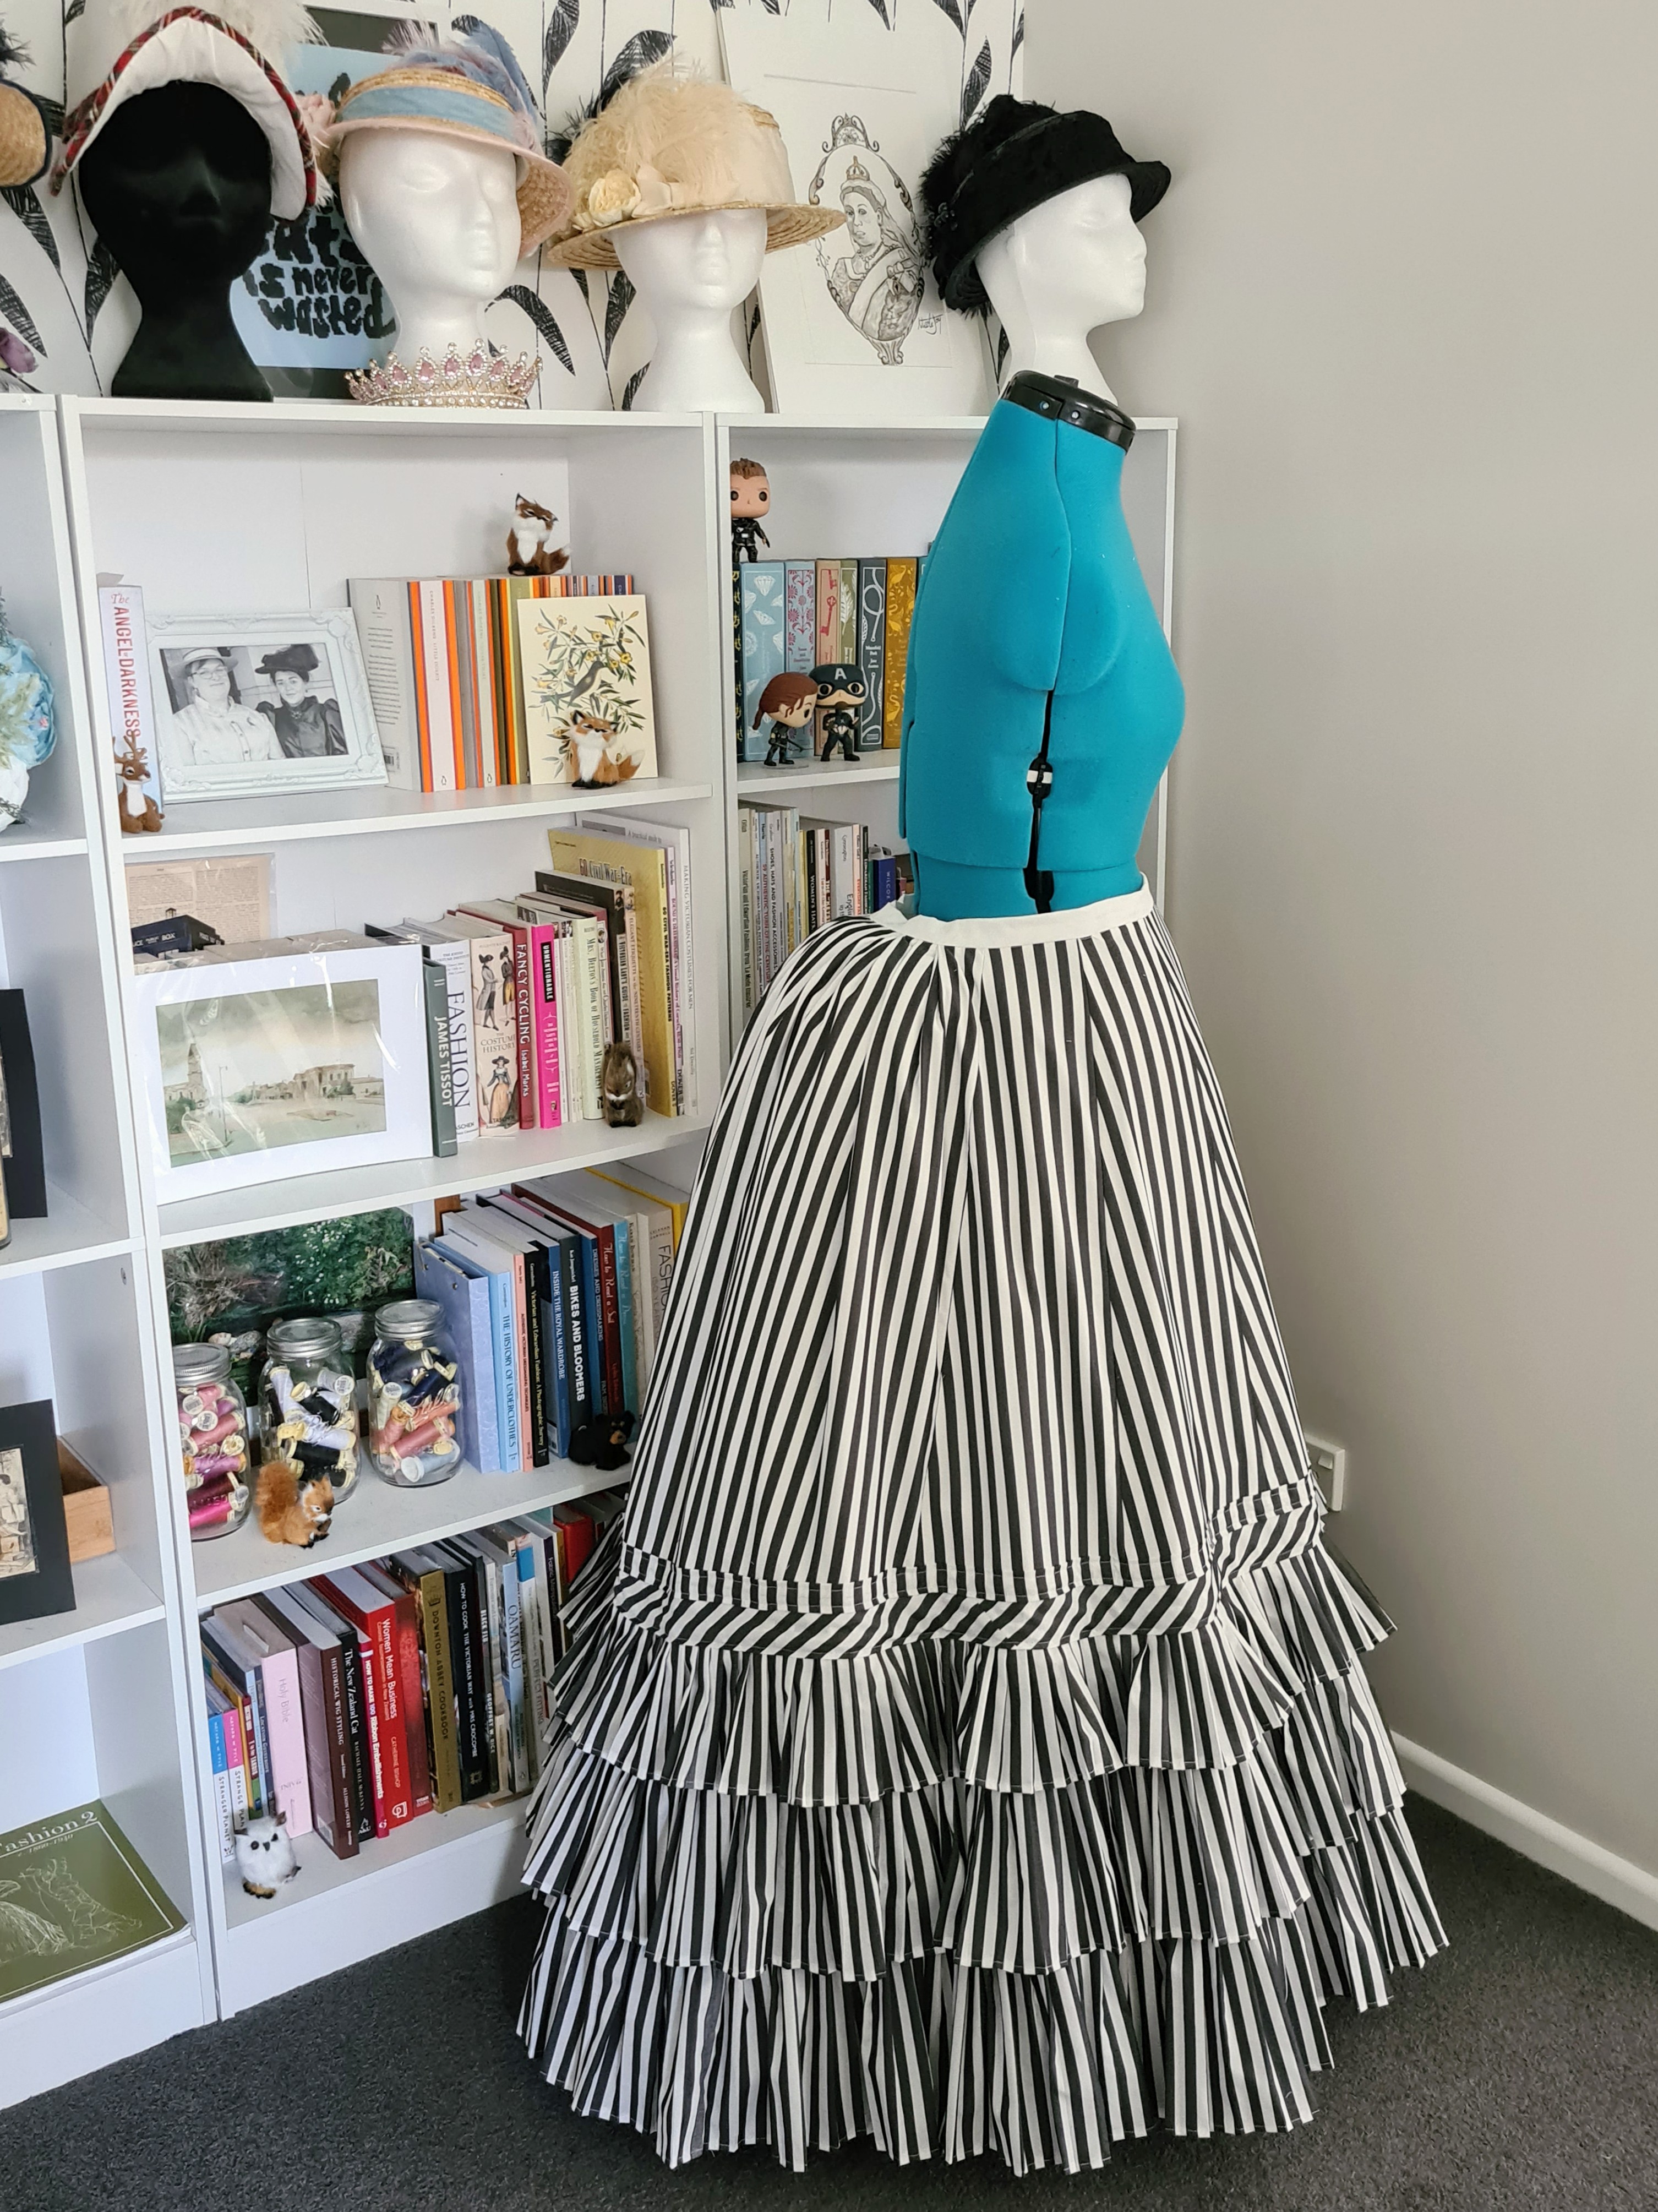
It was then time to start making the pleats, after hemming the strips I had cut and sewn together. The whole process was a bit time consuming, and repetitive, but eventually they were done. Or so I thought…
I attached the first row of pleats to the skirt and stepped back. It looked wrong, very wrong. I had miscalculated the height the pleats should have been and I faced the great debate – do I carry on as it is, or do I unpick the pleats, create some taller pleats and attach those?
And that’s where my stubborn perfectionism kicked in. I knew that I wouldn’t be happy if the end result if I didn’t change it so back to the ironing board I went to create some wider pleats.
It was also at this time that I realised that the pleats were all different heights and, fortunately, I would be able to reuse the original pleated trim.
Once I had attached the new row of pleats I was much happier with the result.

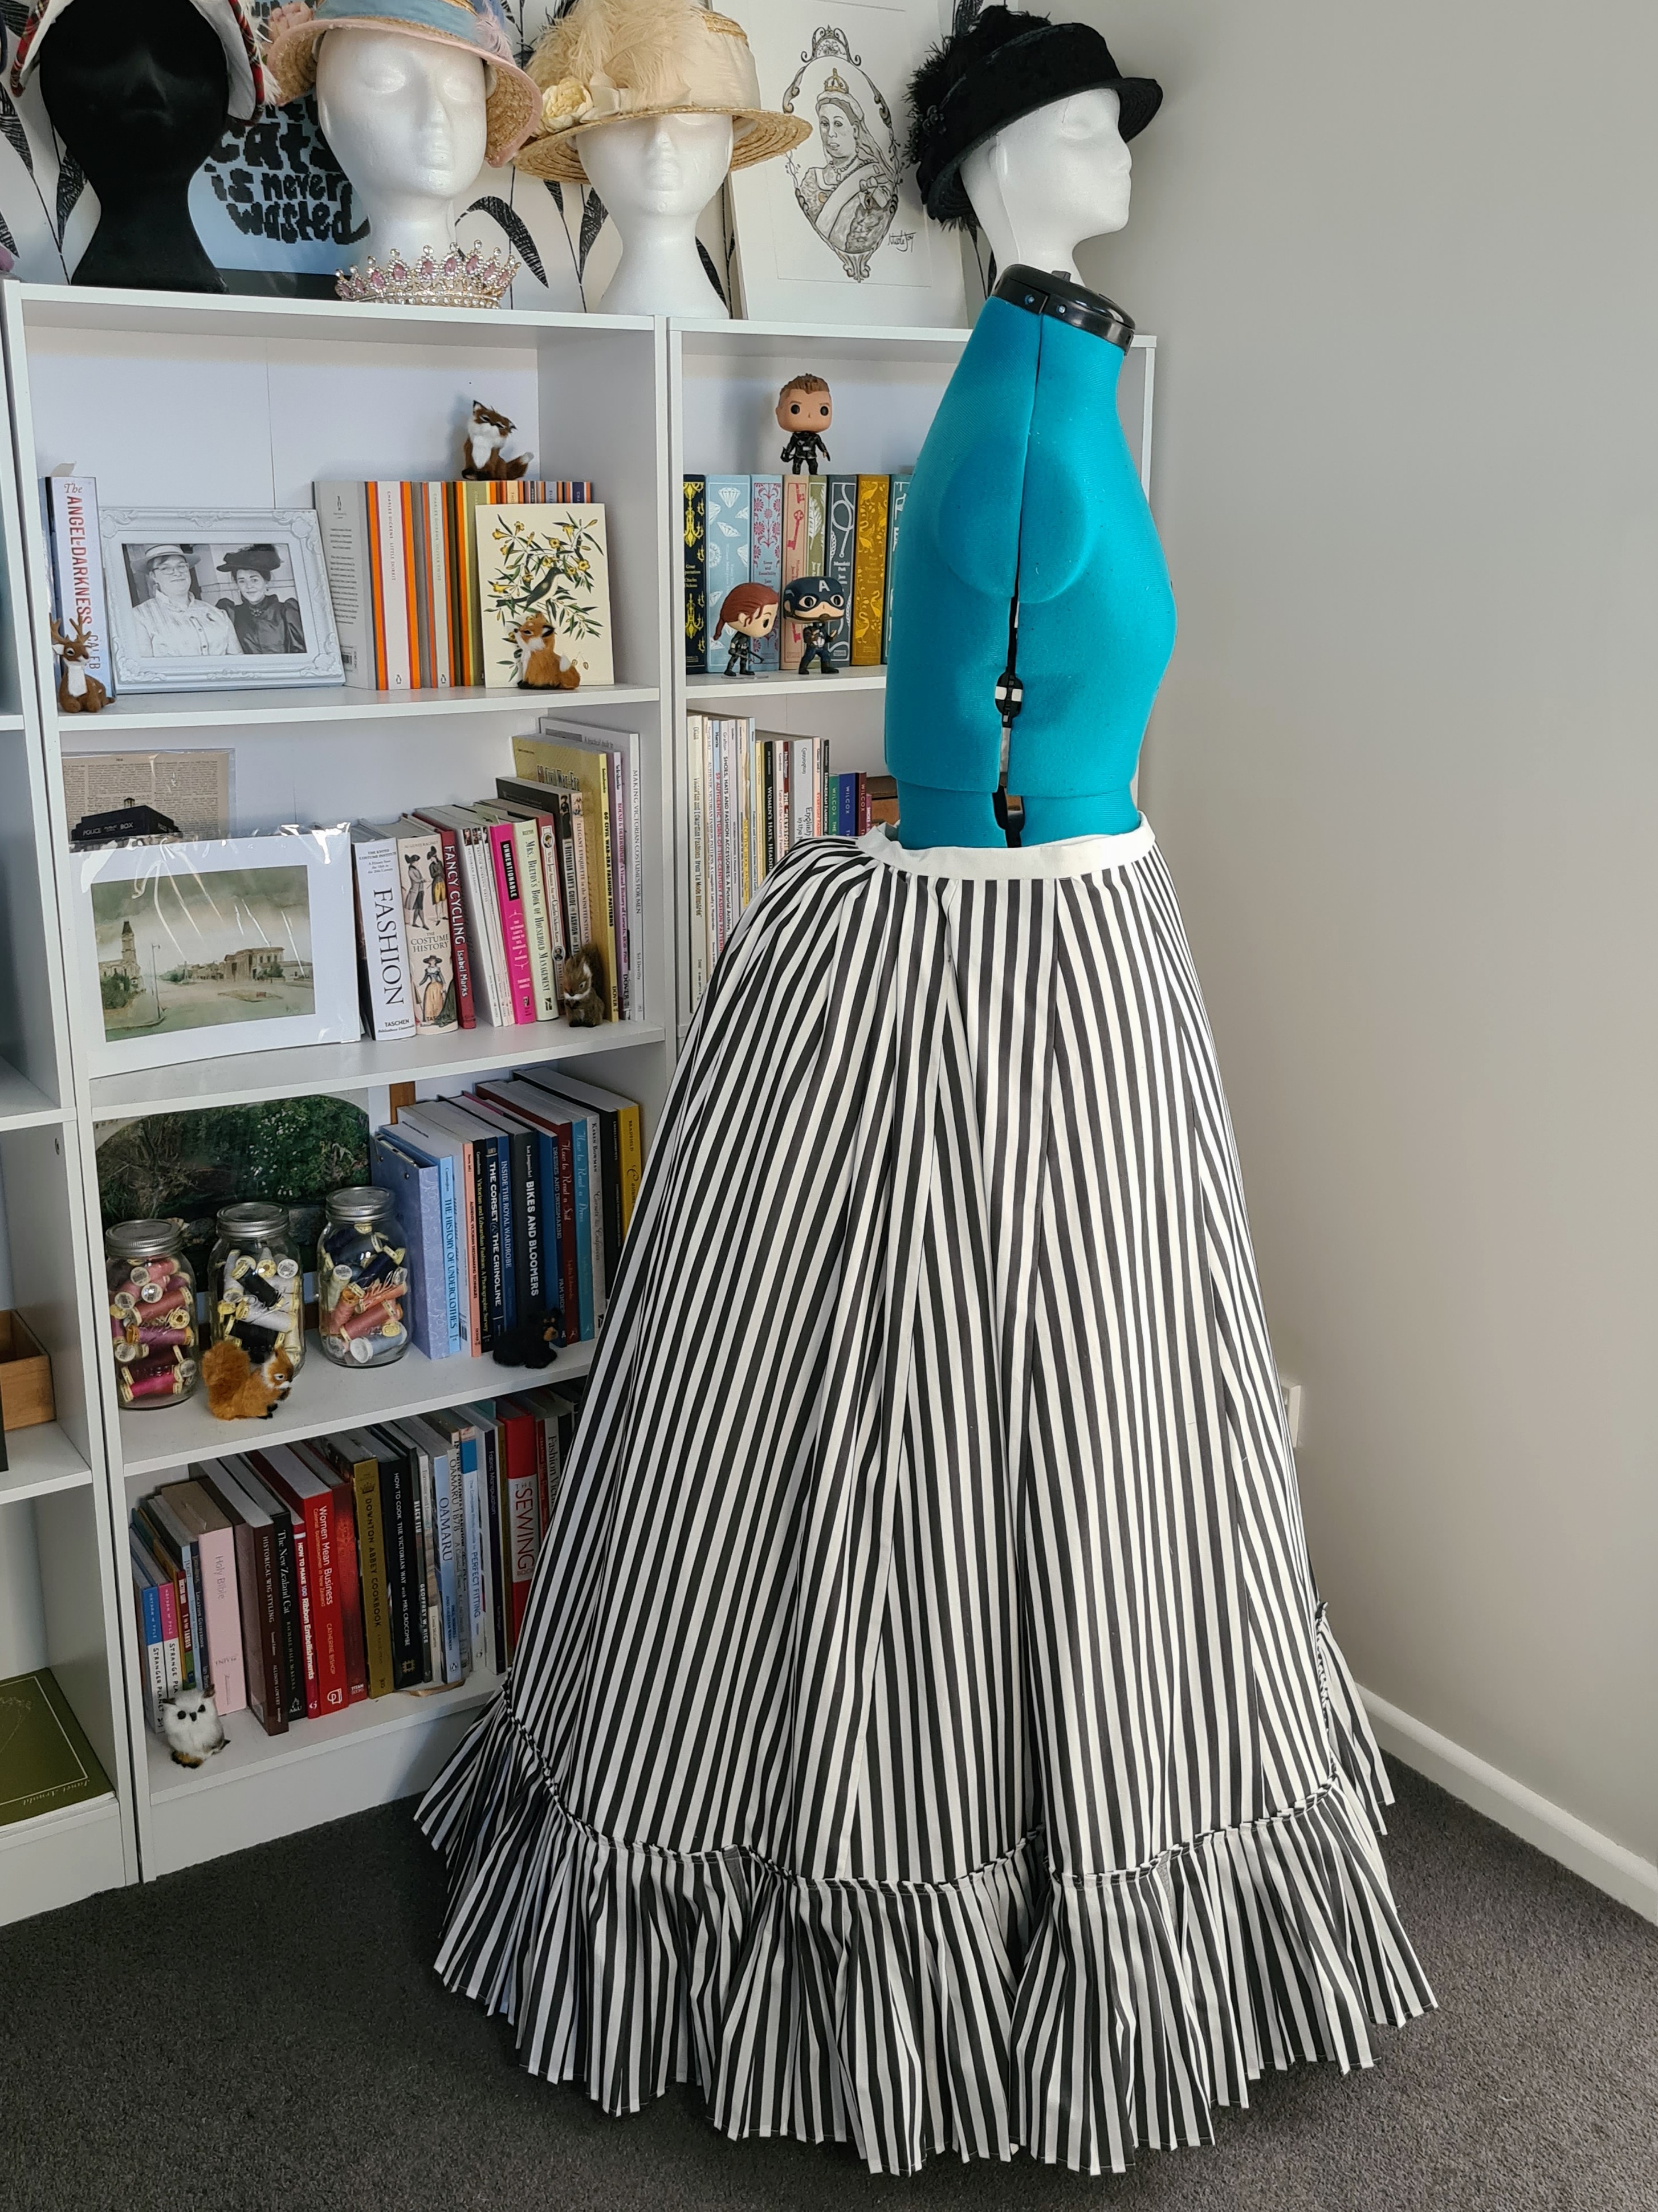
It should have been completely smooth sailing from then but… it wasn’t. I attached the second row of pleats too high up and it looked weird. Armed with the seam ripper again, I removed it and reattached it further down.
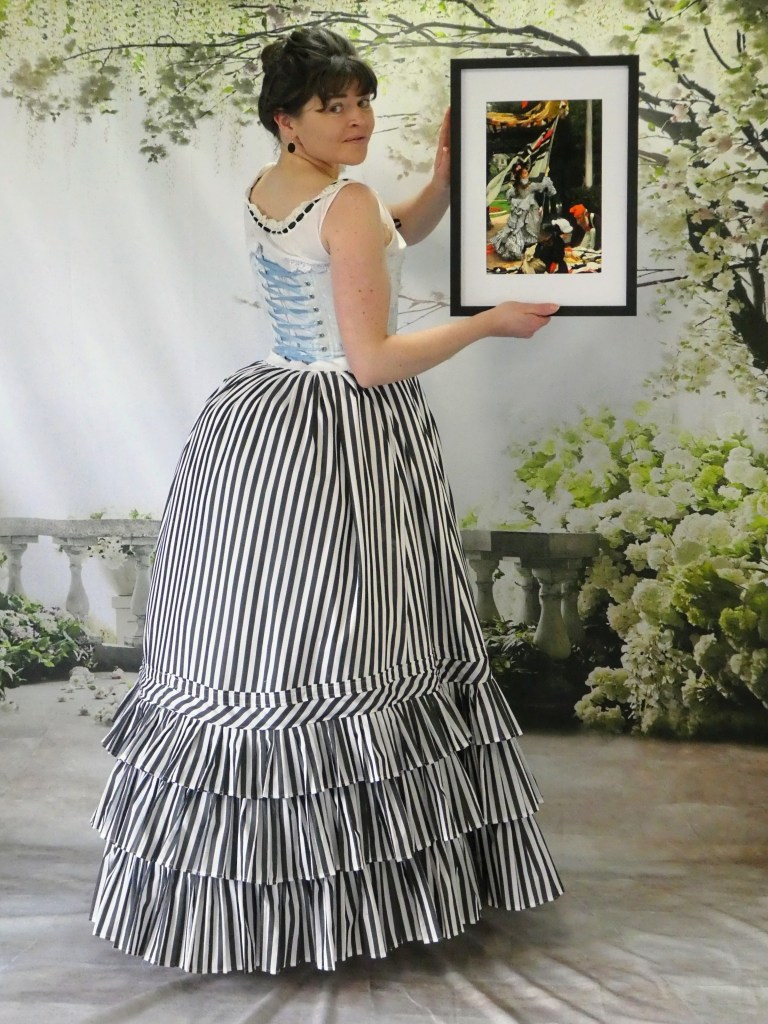
The third row, at least, had no need of the seam ripper or an undo button. And, the skirt started looking something like the Tissot skirt 😊
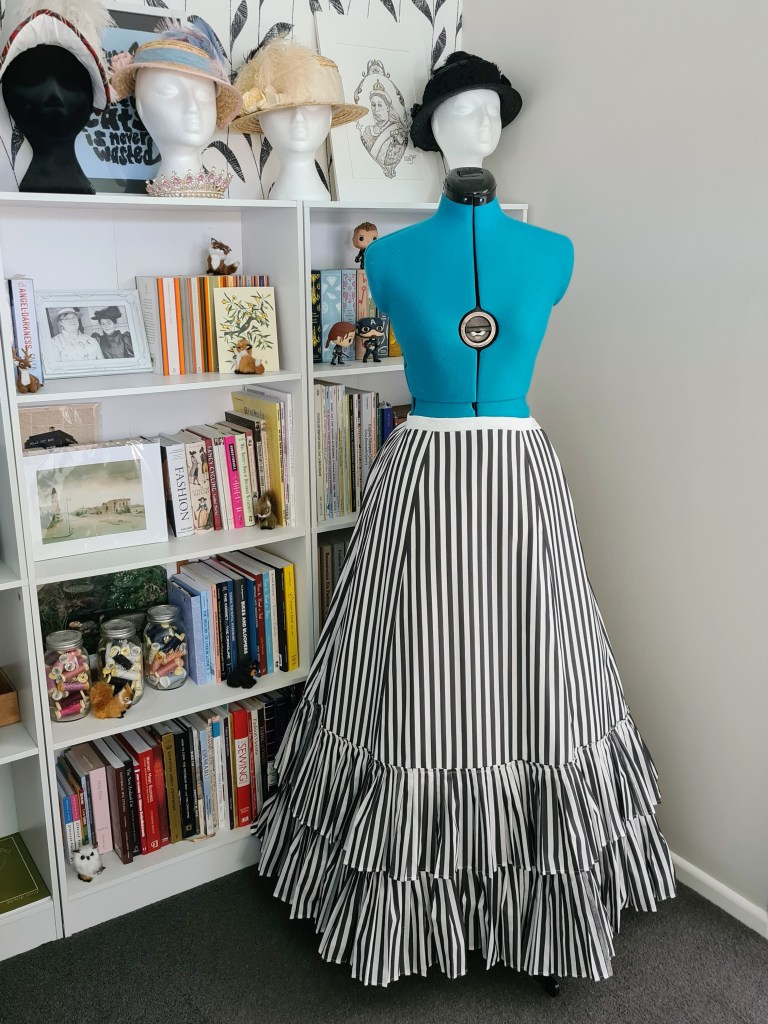
I cut and made some 2 inch wide bias tape for the next part of the trim (with an absolute unit of a bias tape maker). I was a little worried about it stretching and distorting the striped while sewing it on but it attached quite easily.
The end was now in sight – just the straight grain trim to go. This piece of trim seems to get overlooked by some historical costumers who make this dress, but, as I am a stubborn perfectionist and wanting to get this project as close to the original I can.
It was pretty simple to make the straight grain trim – I cut strips of the fabric, stitched them together, and then ran them through my 1 inch bias tape maker. That was sewn on in the same manner as the bias trim
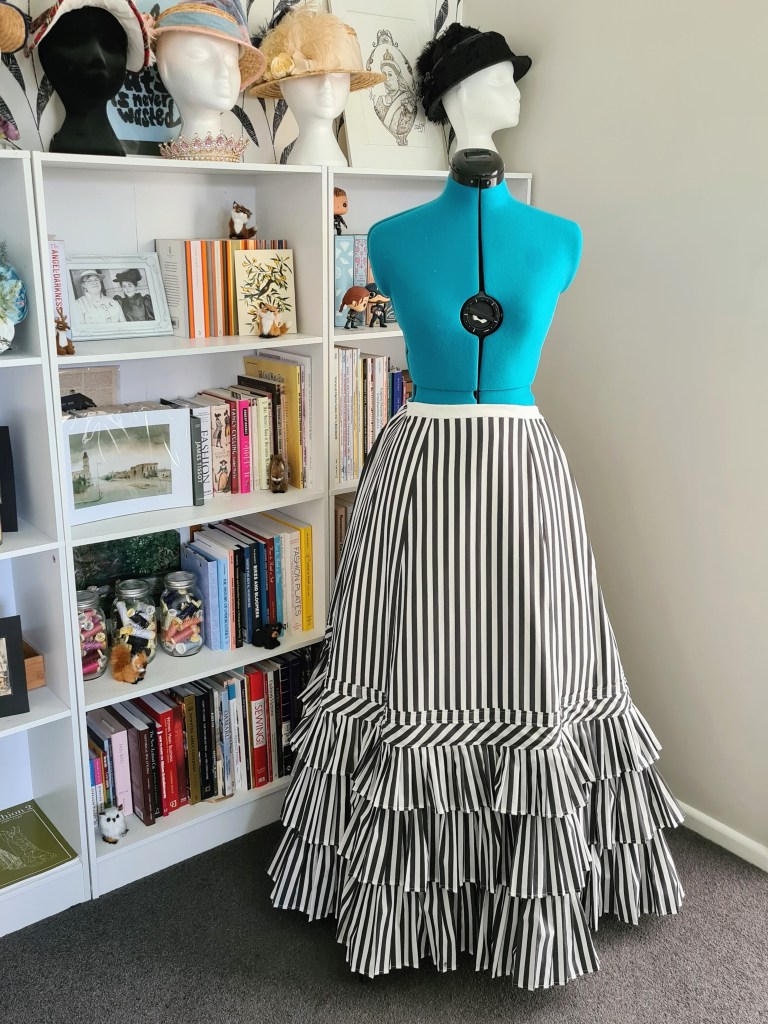

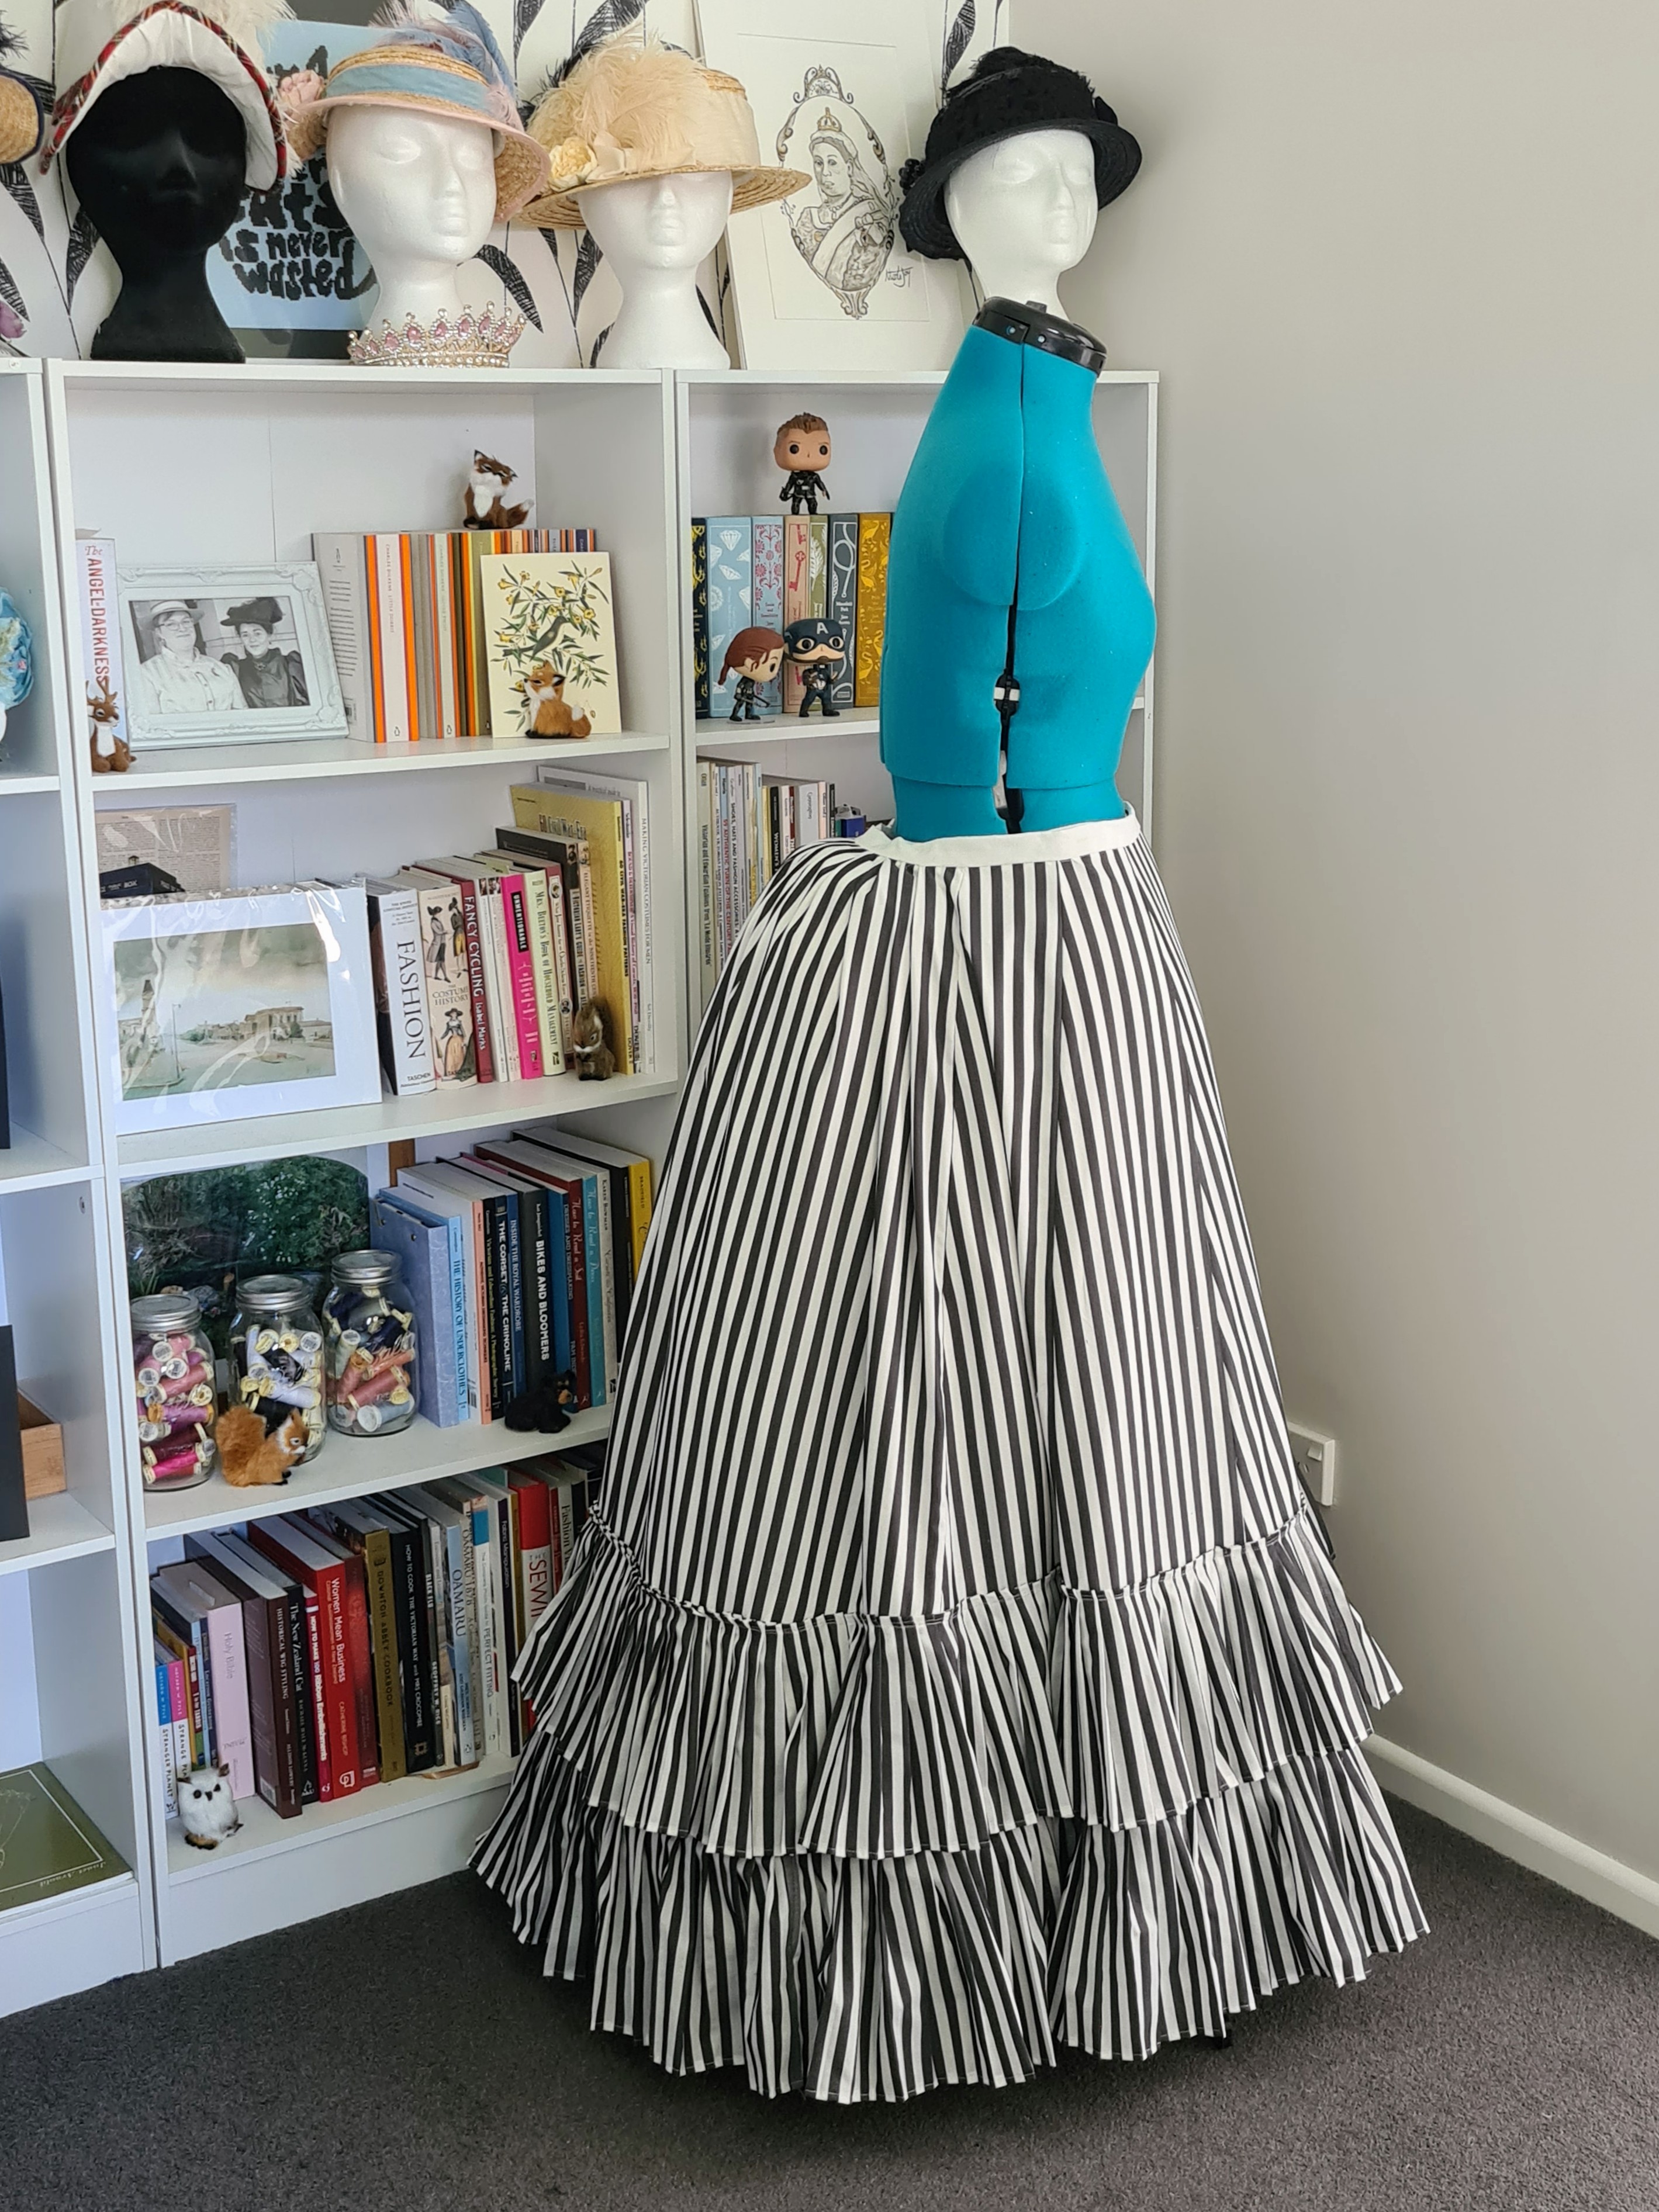
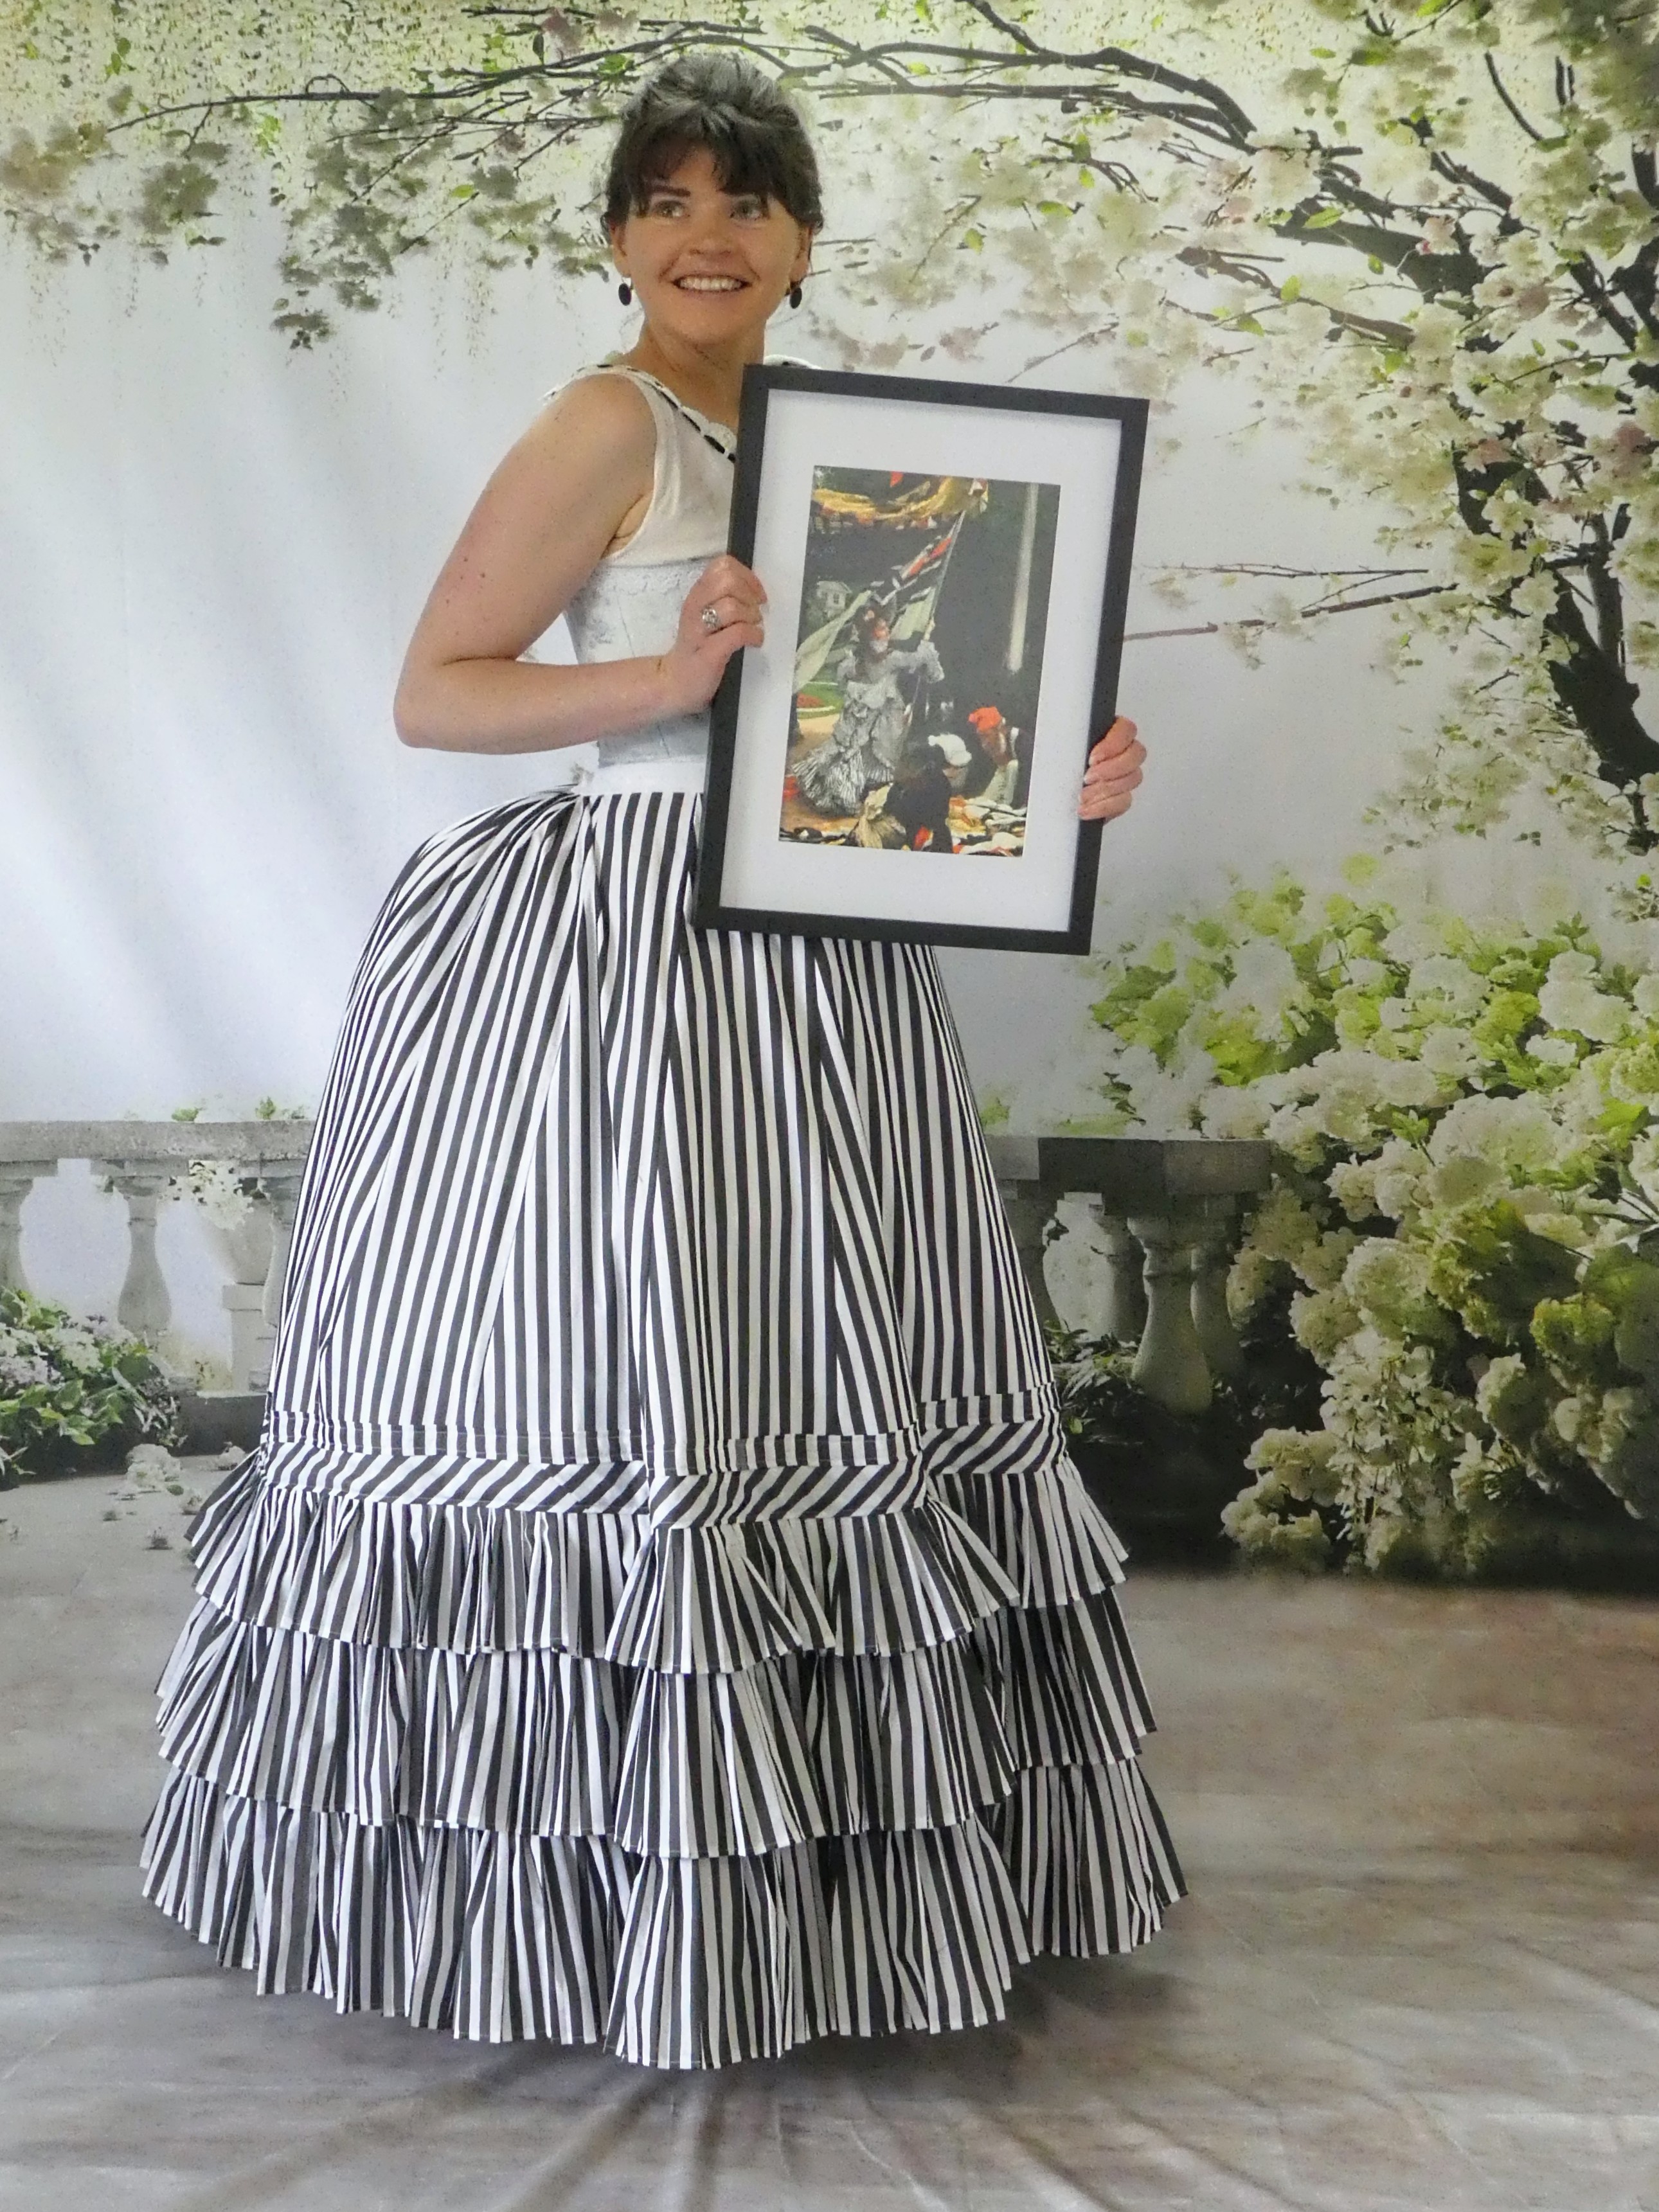
And, just like that – it was done! And I am really happy with how it has turned out. I’m definitely glad that I went back and redid the parts I wasn’t happy with – even if it did mean that it added several extra hours to the project.
Now, it’s time to turn my attention to the overskirt, and, hopefully I won’t be reaching for the seam ripper quite so often.
Missed the Introduction to this project? Here it is 😊
Jump to the Overskirt post
I’m not the only one…
Other historical costumers have made their own interpretations of this magnificent dress:
Ajaneitesews (and here)

2 thoughts on “Striped Tissot Dress: The Underskirt”